Classic Strawberry Jam Recipe
Highlighted under: Baking & Desserts
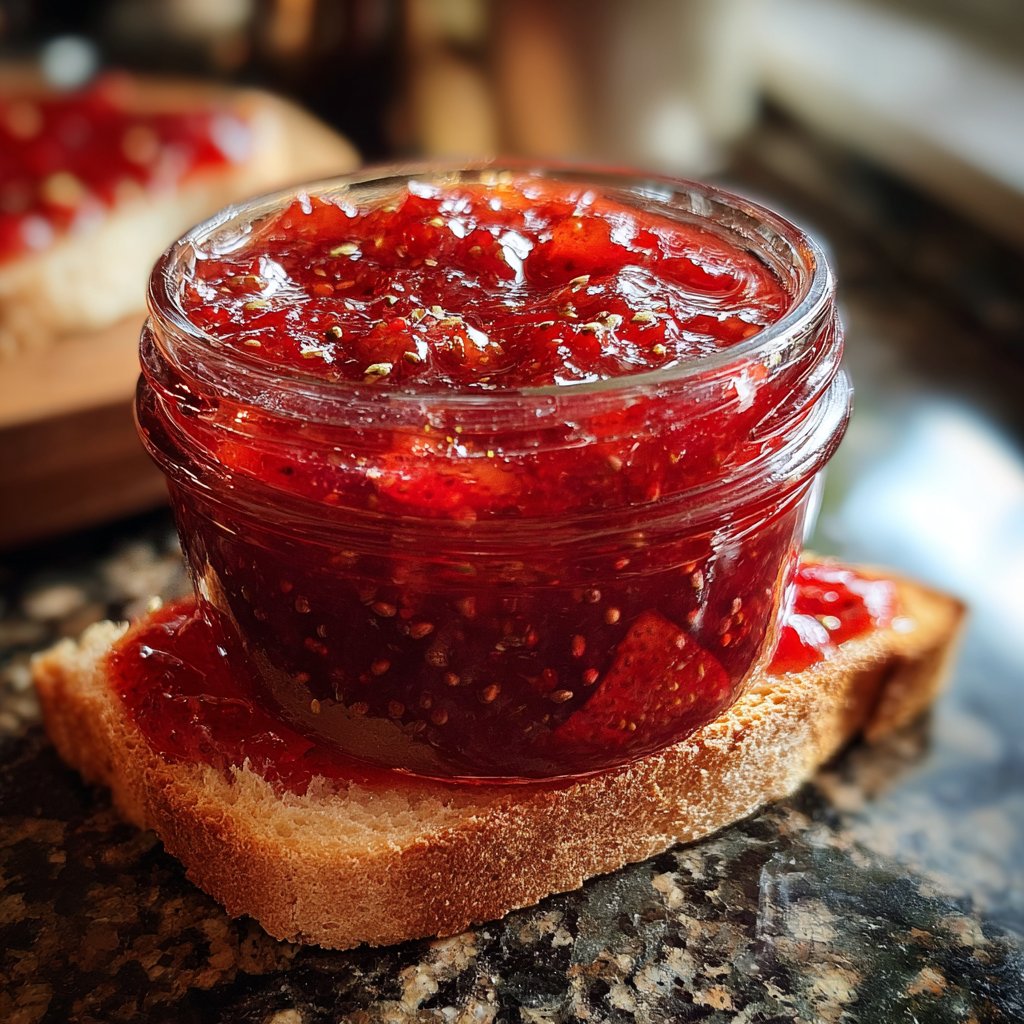
I absolutely love making my own strawberry jam at home, and this classic recipe never disappoints. Each time, I’m reminded of the sweet, vibrant flavors of summer, capturing the essence of ripe strawberries. The process is surprisingly straightforward, requiring only a few simple ingredients and a bit of patience as the mixture cooks down to perfection. Spreadable on toast or dolloped on desserts, this jam brings a taste of nostalgia that elevates any dish. Join me in making this timeless treat that embodies love and tradition!
When I first attempted to make strawberry jam, I was pleasantly surprised at how simple it was to prepare. The vibrant red color of the berries as they cook down in the pot is an absolute delight, and the aroma fills the kitchen with a comforting sweet scent. I recommend using fresh, ripe strawberries for the best flavor, as they truly make a difference.
Over the years, I’ve discovered that adding a splash of lemon juice helps balance the sweetness and enhances the overall flavor of the jam. This tip creates a beautifully bright taste that will have you reaching for the jar time and again!
Why You Will Love This Recipe
- The natural sweetness of ripe strawberries shines through.
- Perfectly spreadable texture, ideal for breakfast or snacks.
- Homemade jam free from preservatives and artificial flavors.
The Role of Ingredients in Strawberry Jam
Each ingredient in this strawberry jam recipe plays a crucial role in achieving the perfect blend of flavors and textures. Fresh strawberries serve as the star of the show, offering natural sweetness and vibrant color. When selecting strawberries, opt for ripe, fragrant ones, as they have the best flavor and will minimize the need for added sugar. The lemon juice is not just for flavor; it helps balance the sweetness and acts as a natural preservative, allowing your jam to maintain its freshness longer.
Granulated sugar is essential for both the sweetness and the gel-like consistency of your jam. It interacts with the pectin found in strawberries to create the desired thickness. If you're concerned about sugar content, you can experiment with alternatives like honey or agave nectar, though this may affect the final texture. Finally, adding a bit of butter during cooking can help reduce foam, resulting in a clearer jam free from unsightly bubbles, enhancing its overall appearance.
Perfecting the Cooking Process
Cooking time is critical to achieving the ideal thickened consistency. Once the mixture reaches a rolling boil, it should be stirred frequently for about 10-15 minutes. As the jam cooks, look for visual cues: it should become shiny and deepen in color. A good tip is to test for doneness periodically by placing a spoonful on a cold plate. If after cooling, it holds its shape and isn't runny, it’s ready to jar. You can also use a candy thermometer; the jam is done when it reaches around 220°F (104°C).
Be mindful of the heat level during the cooking process. Too much heat might cause the jam to cook too quickly, leading to burning or uneven thickening. A medium heat setting is generally perfect. If you notice any signs of caramelization or sticking to the bottom, lower the heat slightly and stir more often. Maintain a balance to ensure the mixture is bubbling consistently without reaching a burn point.
Storage and Serving Suggestions
Once jarred, let your strawberry jam cool at room temperature before storing it in the refrigerator. If sealed properly in sterilized jars, the jam can last for up to a year in the pantry or a few months in the fridge. For longer storage, consider freezing the jam. Pour it into freezer-safe containers, leaving space at the top for expansion, and it can last even longer—up to a year when frozen. Always label the jars with the date for your convenience.
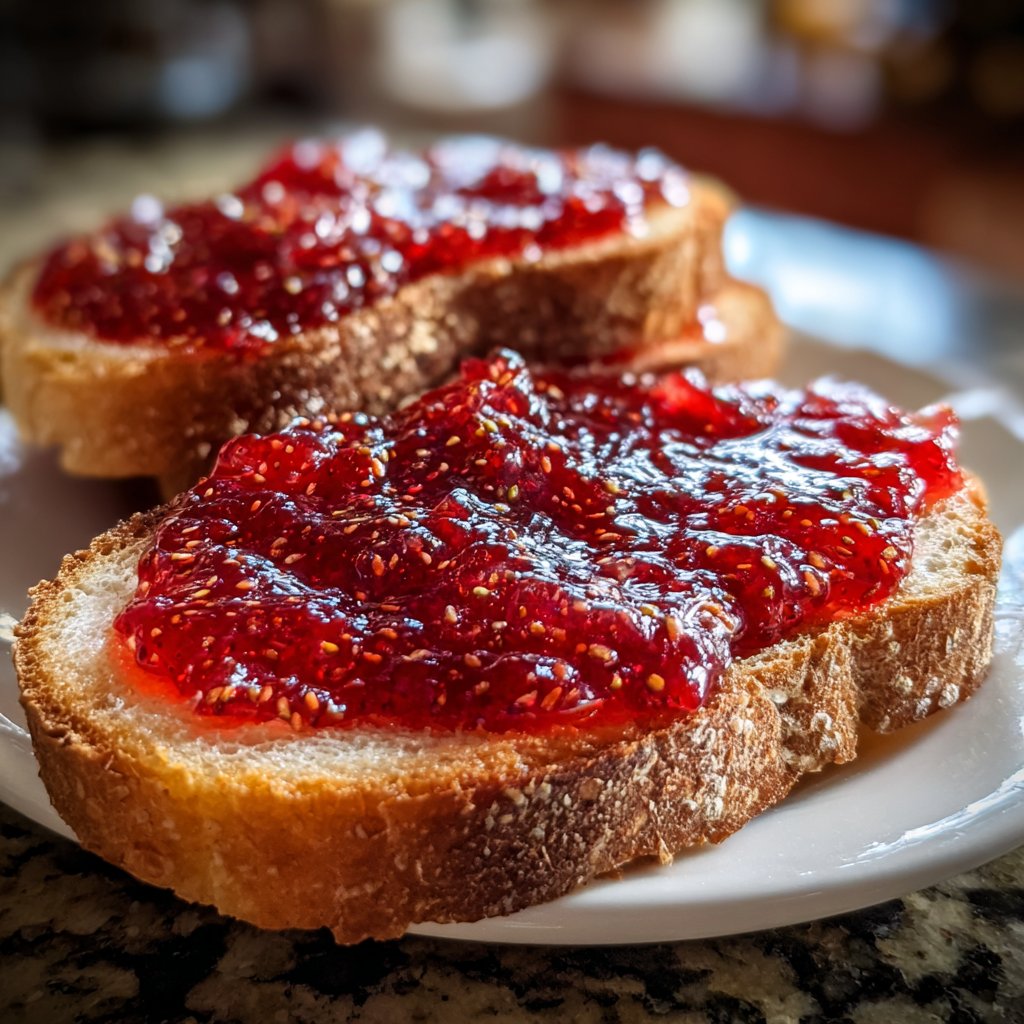
Homemade strawberry jam is incredibly versatile. It's perfect spread on buttered toast, but it’s also delightful as a topping for pancakes, yogurt, or desserts like cheesecake and ice cream. You can even use it as a filling for cakes or pastries. For a refreshing twist, try mixing the jam with a bit of cream cheese for a delicious dip or spread, or blend it into smoothies for a burst of fruity flavor.
Ingredients
Ingredients for Classic Strawberry Jam
Main Ingredients
- 2 cups fresh strawberries, hulled and chopped
- 1 cup granulated sugar
- 2 tablespoons lemon juice
- 1/2 teaspoon butter (optional, for reducing foam)
Combine all ingredients in a large pot for best results.
Instructions
How to Make Classic Strawberry Jam
Prepare the Strawberries
In a large bowl, mash the chopped strawberries using a potato masher until you reach your desired consistency, whether smooth or chunky.
Cook the Mixture
Transfer the strawberries to a pot, add sugar, lemon juice, and optional butter. Cook over medium heat until the sugar dissolves.
Boiling Process
Increase heat and bring the mixture to a rolling boil. Stir frequently for about 10-15 minutes, or until the mixture thickens.
Test the Jam
To check the consistency, place a spoonful of jam on a cold plate. Allow it to cool for a minute, then run your finger through it; if it holds its shape, it’s ready!
Jar the Jam
Pour the hot jam into sterilized jars, leaving about 1/4-inch headspace. Seal with lids and allow to cool at room temperature.
Store in a cool, dark place for up to a year.
Pro Tips
- For the best flavor, try to use strawberries that are in season. Also, consider experimenting with other berries or adding herbs like basil for a unique twist.
Troubleshooting Common Issues
If you find your jam isn’t thickening after the suggested cooking time, you may need to return it to a boil. Sometimes, the natural pectin in strawberries can vary, resulting in a runny jam. If you encounter this, add a teaspoon of commercial pectin, then bring the mixture back to a boil for a few minutes. This should help achieve the right consistency for your jam.
On the other hand, if your jam becomes too thick after cooling, simply mix in a teaspoon of warm water to adjust the consistency. Always remember to warm your water slightly before stirring it in to prevent any drastic temperature changes that could affect the texture.
Scaling the Recipe
If you’d like to make a larger batch of strawberry jam, it’s important to scale your ingredients proportionally while maintaining the same cooking times. Doubling or tripling the recipe works well, but be cautious of the pot size; you need enough room to prevent boiling over. It's often helpful to use multiple smaller pots instead of one large one to ensure even cooking and proper thickening.
Conversely, if you want to make a smaller batch, simply halve the ingredients. The cooking time may be slightly reduced, so keep an eye on the mixture, testing for thickness after about 5-8 minutes of boiling. Adjust your cooking time based on your desired consistency, but always refer back to visual and taste cues for best results.
Questions About Recipes
→ How can I make my jam thicker?
If you find the jam is too thin, you can cook it a little longer to evaporate more liquid or add a bit of pectin for thickening.
→ Can I use frozen strawberries?
Yes, frozen strawberries work well, but make sure to thaw and drain any excess liquid before using.
→ How long does homemade strawberry jam last?
If properly sealed and stored in a cool, dark place, it can last up to a year. Once opened, refrigerate and consume within a few weeks.
→ Can I reduce the sugar in this recipe?
You can reduce the sugar, but it may affect the flavor and preservation process. A balance is key for both sweetness and shelf stability.
Classic Strawberry Jam Recipe
Created by: The Epicurelane Team
Recipe Type: Baking & Desserts
Skill Level: Easy
Final Quantity: 2 cups
What You'll Need
Main Ingredients
- 2 cups fresh strawberries, hulled and chopped
- 1 cup granulated sugar
- 2 tablespoons lemon juice
- 1/2 teaspoon butter (optional, for reducing foam)
How-To Steps
In a large bowl, mash the chopped strawberries using a potato masher until you reach your desired consistency, whether smooth or chunky.
Transfer the strawberries to a pot, add sugar, lemon juice, and optional butter. Cook over medium heat until the sugar dissolves.
Increase heat and bring the mixture to a rolling boil. Stir frequently for about 10-15 minutes, or until the mixture thickens.
To check the consistency, place a spoonful of jam on a cold plate. Allow it to cool for a minute, then run your finger through it; if it holds its shape, it’s ready!
Pour the hot jam into sterilized jars, leaving about 1/4-inch headspace. Seal with lids and allow to cool at room temperature.
Extra Tips
- For the best flavor, try to use strawberries that are in season. Also, consider experimenting with other berries or adding herbs like basil for a unique twist.
Nutritional Breakdown (Per Serving)
- Calories: 60 kcal
- Total Fat: 0g
- Saturated Fat: 0g
- Cholesterol: 0mg
- Sodium: 0mg
- Total Carbohydrates: 16g
- Dietary Fiber: 0g
- Sugars: 14g
- Protein: 0g