Mini Chocolate Lava Cakes
Highlighted under: Baking & Desserts
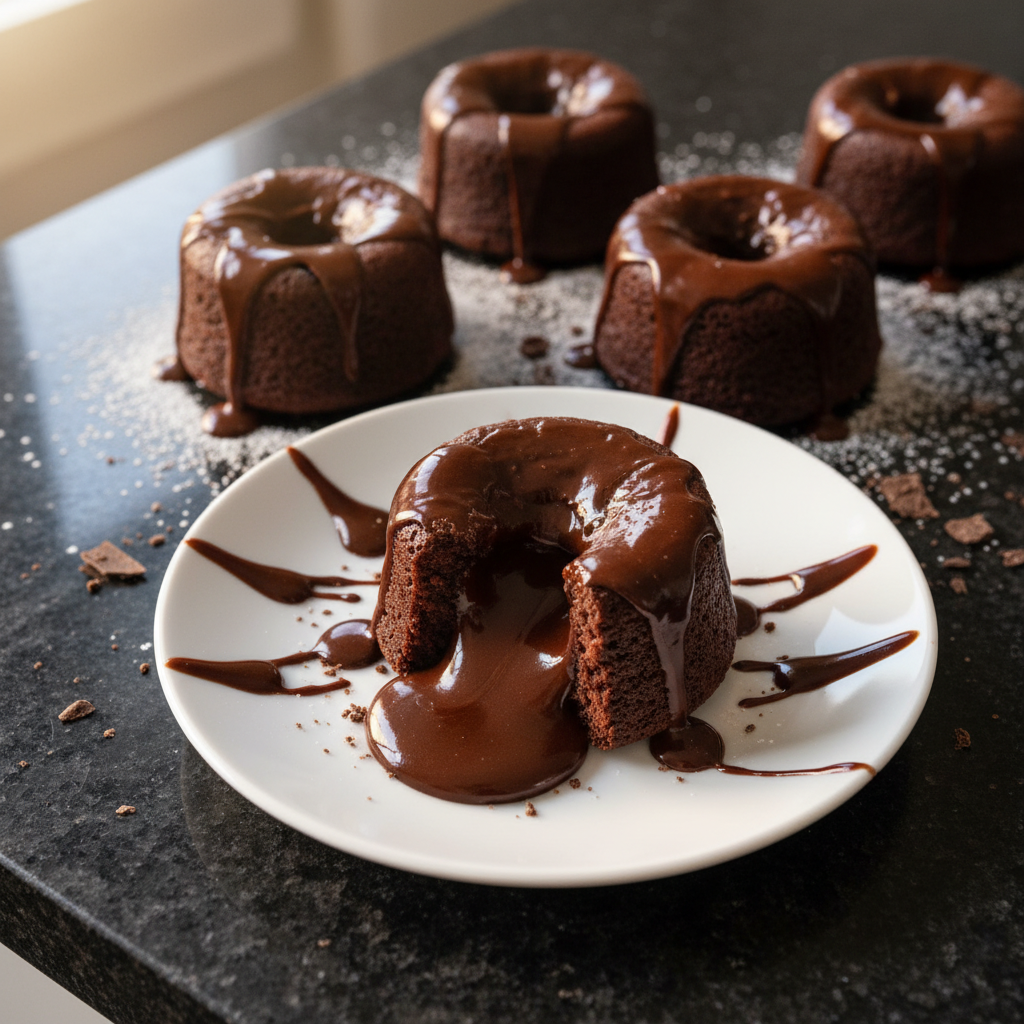
I've always had a soft spot for dessert, and these Mini Chocolate Lava Cakes are a personal favorite. Each cake has an irresistible molten center that oozes rich chocolate when you take a bite. Making these is surprisingly simple, and I can't help but feel a little bit like a pastry chef when I serve them warm. Perfect for impressing guests or just indulging myself, I love how they elevate any gathering into a special occasion.
When I first attempted these Mini Chocolate Lava Cakes, I was nervous about getting that gooey center just right. I experimented with bake times and found that 12 minutes is the sweet spot. The cakes will look slightly underbaked when you take them out, but don’t worry—the magic happens when you cut into them, revealing the molten chocolate inside!
One tip I learned is to grease the ramekins generously and dust them with cocoa powder instead of flour. This not only prevents sticking but also adds an extra hint of chocolate, enhancing the overall experience. Trust me, it’s the little details that make all the difference!
Why You'll Love These Mini Chocolate Lava Cakes
- Rich chocolate flavor paired with fresh orange zest
- Creamy texture that melts in your mouth
- Perfect for celebrations or as a sweet indulgence
Mastering the Lava Cake Balance
Achieving the perfect molten center in your Mini Chocolate Lava Cakes relies on precise timing. Overbaking can turn the gooey interior into a more cake-like texture, so keep a close eye on them during the last few minutes of baking. The edges should appear set while the center remains soft and slightly jiggly. A toothpick inserted into the edge should come out clean, while the center will reveal the glorious molten chocolate when inverted.
The quality of chocolate is crucial in this recipe, as it directly affects the flavor and texture of the lava cake. Opt for high-quality semi-sweet chocolate; this will deepen the chocolate flavor and provide a luxurious mouthfeel. I recommend a chocolate with at least 60% cocoa content for the best results. If you prefer darker chocolate, adjust the sugar slightly, as a higher cocoa content can lead to a less sweet dessert.
Substitutions and Variations
If you’re looking to customize your lava cakes, consider replacing granulated sugar with brown sugar for a richer flavor. Brown sugar adds moisture and enhances the overall depth of the cake. Additionally, you could use dark or milk chocolate instead of semi-sweet to cater to personal preferences, though the baking time may vary slightly based on the chocolate type used.
For those who are dairy-free or vegan, you can create a vegan version of these lava cakes by substituting the eggs with flaxseed meal or aquafaba. Replace the butter with coconut oil and use a dairy-free chocolate option. Just ensure that you adjust the baking time accordingly, as egg substitutes may alter the consistency.
Storing and Serving Tips
These Mini Chocolate Lava Cakes can be prepared in advance and stored in the refrigerator. Make the batter and fill the ramekins, then cover them with plastic wrap and refrigerate for up to a day. When ready to bake, simply preheat the oven and add a couple of minutes to the baking time to account for the chilly batter.
For an elegant presentation, consider serving these lava cakes with fresh berries or a drizzle of chocolate sauce alongside the dusting of powdered sugar. Pairing them with a scoop of vanilla ice cream creates a delightful contrast between warm and cold. You could also add a hint of freshness by incorporating a slice of orange or a sprig of mint to elevate the dish even further.
Ingredients
For the Mini Lava Cakes
- 1/2 cup (115g) unsalted butter
- 1 cup (170g) semi-sweet chocolate, chopped
- 2 large eggs
- 2 large egg yolks
- 1/4 cup (50g) granulated sugar
- 2 tablespoons all-purpose flour
- 1/2 teaspoon vanilla extract
- Pinch of salt
For Serving
- Powdered sugar for dusting
- Vanilla ice cream or whipped cream (optional)
Instructions
Prepare the Ramekins
Preheat your oven to 425°F (220°C). Grease four 6-ounce ramekins with butter and then dust them with cocoa powder. This prevents sticking and adds a chocolatey finish.
Melt Chocolate and Butter
In a microwave-safe bowl, combine the chopped chocolate and butter. Melt in 30-second intervals, stirring in between, until smooth and fully melted. Let it cool slightly.
Mix the Batter
In another bowl, whisk together the eggs, egg yolks, and sugar until pale and fluffy. Stir in the melted chocolate mixture, then add the flour, vanilla extract, and a pinch of salt. Mix until just combined.
Fill the Ramekins
Divide the batter evenly among the prepared ramekins, filling each about 3/4 full.
Bake
Place the ramekins on a baking sheet and bake in the preheated oven for 12 minutes, or until the edges are firm and the center is soft.
Serve
Remove from the oven and let them cool for 1 minute. Carefully invert each ramekin onto a plate and gently lift off the ramekin. Dust with powdered sugar and serve warm, optionally with ice cream or whipped cream.
Pro Tips
- For an extra touch, add a small piece of your favorite chocolate into the center of each ramekin before baking. This will create an even more decadent lava flow when you cut into the cake!
Troubleshooting Common Issues
If your lava cakes don’t have the desired molten center after baking, it’s likely they were baked too long. Remember, the cakes should sit in the oven until the edges are firm, and the center is soft. If you find that your centers are consistently too runny, consider reducing your baking time by a minute or two on your next attempt, as ovens can vary significantly in heat levels.
Another common issue is cakes sticking to the ramekins. Ensure that you thoroughly grease and dust the ramekins with cocoa powder before adding the batter. If you inadvertently skip this step, you might end up with a delicious but unattractive cake that's hard to remove. A warm water bath can sometimes help release stuck cakes, but prevention is always the best approach.
Scaling the Recipe
This recipe can be easily scaled up or down depending on your needs. To make a larger batch, simply multiply the ingredients by the number of cakes you desire and use appropriate-sized ramekins. You can also bake them in a larger baking dish, but keep an eye on the baking time since larger cakes will require additional cooking time to ensure the center is gooey yet cooked throughout.
For those using smaller ramekins, adjust the baking time accordingly. Mini ramekins may only need 8-10 minutes in the oven. Be sure to check for the same signs of doneness: firm edges and a soft center. Keeping a timer handy will help prevent overbaking these delicate desserts.
Questions About Recipes
→ What if I don't have ramekins?
You can use muffin tins or even small oven-safe dishes, but ensure to adjust baking time accordingly.
→ Can I prepare the batter in advance?
Absolutely! You can prepare the batter ahead of time, store it in the fridge, and bake it fresh when you're ready to serve.
→ How do I know when they are done?
The edges should look firm while the center remains soft. If you're unsure, a toothpick can be inserted into the edge—if it comes out clean, they are done!
→ Can I freeze these lava cakes?
Yes! You can freeze them before baking. Just make sure to cover them tightly with plastic wrap. Bake from frozen; you may need to add a couple of extra minutes.

Mini Chocolate Lava Cakes
Created by: The Epicurelane Team
Recipe Type: Baking & Desserts
Skill Level: Intermediate
Final Quantity: 4 servings
What You'll Need
For the Mini Lava Cakes
- 1/2 cup (115g) unsalted butter
- 1 cup (170g) semi-sweet chocolate, chopped
- 2 large eggs
- 2 large egg yolks
- 1/4 cup (50g) granulated sugar
- 2 tablespoons all-purpose flour
- 1/2 teaspoon vanilla extract
- Pinch of salt
For Serving
- Powdered sugar for dusting
- Vanilla ice cream or whipped cream (optional)
How-To Steps
Preheat your oven to 425°F (220°C). Grease four 6-ounce ramekins with butter and then dust them with cocoa powder. This prevents sticking and adds a chocolatey finish.
In a microwave-safe bowl, combine the chopped chocolate and butter. Melt in 30-second intervals, stirring in between, until smooth and fully melted. Let it cool slightly.
In another bowl, whisk together the eggs, egg yolks, and sugar until pale and fluffy. Stir in the melted chocolate mixture, then add the flour, vanilla extract, and a pinch of salt. Mix until just combined.
Divide the batter evenly among the prepared ramekins, filling each about 3/4 full.
Place the ramekins on a baking sheet and bake in the preheated oven for 12 minutes, or until the edges are firm and the center is soft.
Remove from the oven and let them cool for 1 minute. Carefully invert each ramekin onto a plate and gently lift off the ramekin. Dust with powdered sugar and serve warm, optionally with ice cream or whipped cream.
Extra Tips
- For an extra touch, add a small piece of your favorite chocolate into the center of each ramekin before baking. This will create an even more decadent lava flow when you cut into the cake!
Nutritional Breakdown (Per Serving)
- Calories: 380 kcal
- Total Fat: 26g
- Saturated Fat: 15g
- Cholesterol: 195mg
- Sodium: 85mg
- Total Carbohydrates: 32g
- Dietary Fiber: 3g
- Sugars: 24g
- Protein: 6g