St. Patrick’s Day Poke Cake
Highlighted under: Seasonal & Festive
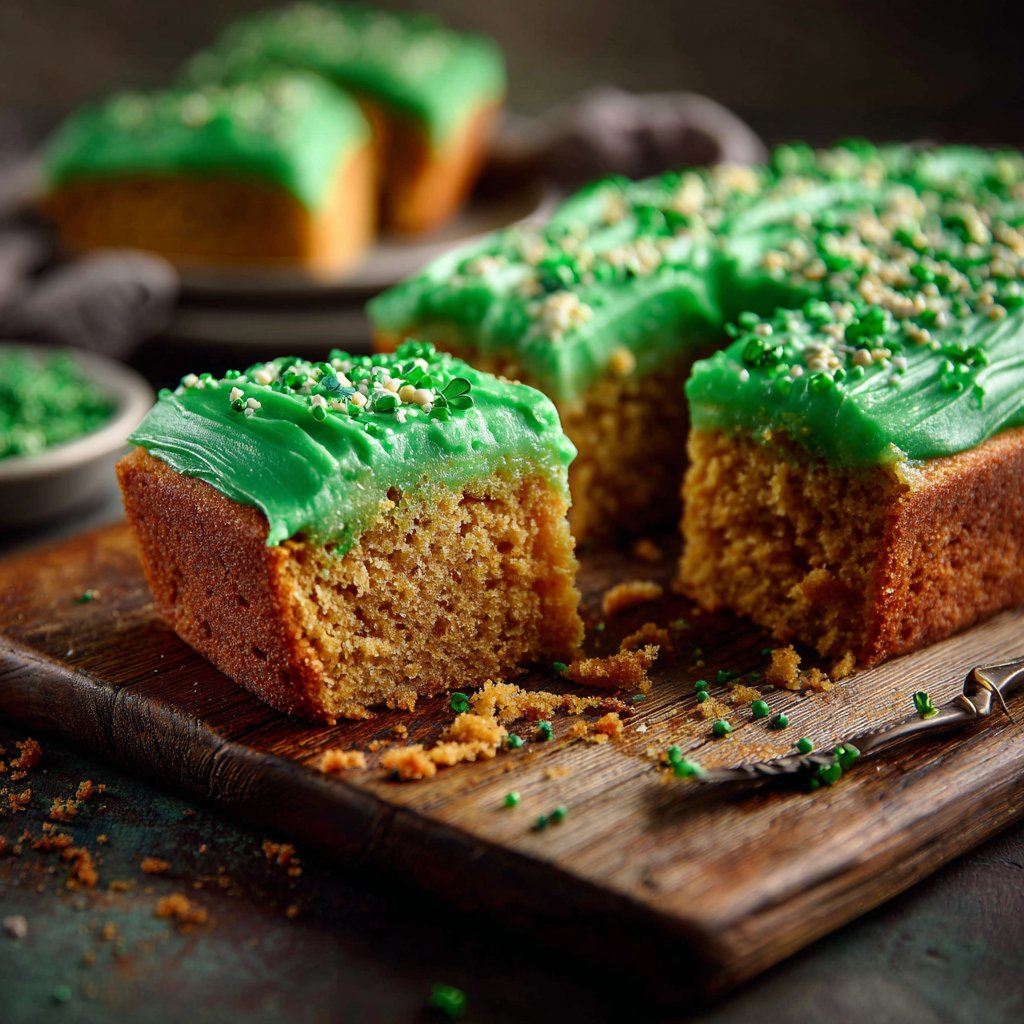
I love baking festive treats, and this St. Patrick’s Day Poke Cake has become a family favorite! It’s such a fun and colorful dessert that incorporates the spirit of the holiday with its vibrant green colors and delicious flavors. The tender cake soaked in sweet, creamy filling makes for a delightful surprise with every bite. Whether it's for a gathering or just a Sunday dessert, I can’t resist serving this cake. It never fails to bring smiles and joy to our celebrations!
When I first decided to make a poke cake, I wanted to create something special for St. Patrick's Day. I experimented with different flavors and toppings, ultimately landing on a delightful combination of vanilla cake, green gelatin, and whipped topping. It turned out to be the perfect treat to celebrate the day!
One tip I discovered is to poke holes in the cake while it’s still warm. This ensures that the gelatin seeps in better, resulting in a moist and flavorful dessert. Trust me, it makes all the difference in achieving that signature poke cake texture!
Why You'll Love This Cake
- Festive green color for St. Patrick's Day celebrations
- Moist texture infused with vibrant flavors
- Easy to make and always a hit at parties
Baking the Perfect Cake
To ensure your cake comes out perfectly moist and fluffy, accurately measure your ingredients, especially the liquid. Using room temperature eggs can also make a significant difference in the final texture. Once you've mixed the batter, be cautious not to overbeat it—just 2 minutes on medium speed is ideal. Monitor your oven closely as baking times can vary; a toothpick should come out clean, but if there's too much resistance, give it an additional minute or two before checking again.
When spreading your batter in the baking dish, use an offset spatula to create an even layer, which will promote uniform baking. If your cake develops domed tops, you can gently level them with a serrated knife after it cools. This will help your poke cake have a flat surface for the topping, making for a neater presentation.
Mastering the Gelatin Filling
The gelatin filling is what elevates this poke cake and allows it to maintain moisture. Mixing the gelatin with boiling water activates it, so don’t skip applying the hot water as it ensures a smoother, clump-free filling. Make sure the cold water is added after the gelatin dissolves—this helps cool the mixture faster and makes it easier to soak into the warm cake. The holes you poke should be at least 1 inch apart; this allows for optimal distribution of flavor without compromising the cake structure.
After pouring the gelatin over the cake, let it sit until fully cooled before adding the topping. If you rush this process, the gelatin may not fully set, leading to a soggier texture. You can even make the cake and filling a day in advance; simply cover it with plastic wrap in the refrigerator to let the flavors meld overnight.
Finishing Touches and Serving
The whipped topping acts as a light and airy contrast to the sweet gelatin filling. For a sturdier topping, consider using stabilized whipped cream by adding a bit of gelatin to your cream before whipping. This will help it hold its shape better, especially if you're planning to transport the cake. Spread the topping just before serving to maintain its texture and prevent the cake from becoming soggy.
Green sprinkles add a delightful festive touch, but you can also use other decorations like edible glitter or shamrock-shaped candies for variation. If you're looking for a make-ahead option for parties, this poke cake holds well in the refrigerator for up to five days, so you can prepare it in advance and have one less thing to worry about on the day of your celebration.
Ingredients
You'll need the following ingredients to create this delicious poke cake:
For the Cake
- 1 box of vanilla cake mix
- 1 cup of water
- 1/3 cup of vegetable oil
- 3 large eggs
For the Filling
- 1 box of lime gelatin
- 1 cup of boiling water
- 1 cup of cold water
For the Topping
- 2 cups of whipped topping
- Green sprinkles for decoration
Make sure all your ingredients are at room temperature for the best results!
Instructions
Follow these steps to assemble your St. Patrick’s Day Poke Cake:
Bake the Cake
Preheat your oven to 350°F (175°C). In a mixing bowl, combine the cake mix, water, oil, and eggs. Beat on medium speed for about 2 minutes until well combined. Pour the batter into a greased 9x13 inch baking dish and bake for 30 minutes or until a toothpick inserted in the center comes out clean. Let the cake cool for about 10 minutes.
Prepare the Filling
In a small bowl, dissolve the lime gelatin in boiling water, then stir in cold water. Poke holes in the warm cake using the handle of a wooden spoon, making holes about 1 inch apart. Pour the prepared gelatin mixture over the cake, ensuring it seeps into the holes. Allow the cake to cool completely.
Add the Topping
Once the cake has cooled, spread the whipped topping evenly over the surface. Garnish with green sprinkles for a festive touch. Refrigerate for at least 2 hours before serving to allow flavors to meld.
Once ready, slice and enjoy your St. Patrick’s Day Poke Cake with family and friends!
Pro Tips
- For an extra layer of flavor, consider adding crushed pineapple or chopped mint into the whipped topping.
Storing and Freezing
After your St. Patrick’s Day Poke Cake has been assembled, store it in an airtight container in the refrigerator. It can last up to five days, and the flavors will continue to develop, making each slice even more delightful. Just make sure to cover it well to avoid any absorption of other fridge odors that could alter its taste.
If you want to prepare the cake well in advance or have leftovers, you can also freeze it. To do this, slice the cake and wrap individual pieces in plastic wrap, then place them in a sealed freezer bag. Thaw the pieces in the fridge overnight before serving. Freezing can keep the cake fresh for up to three months, ensuring you have a sweet treat on hand when the craving hits!
Variations and Customizations
While this recipe uses lime gelatin for a classic taste, you can experiment with other flavors like lemon or even pineapple for a tropical twist. The cake mix can be swapped for a lemon or coconut-flavored variant to align with your chosen gelatin, creating a delicious new flavor profile. You could even add lime zest to the cake batter to enhance the lime flavor throughout.
For a fun texture variation, consider mixing in some mini chocolate chips or chopped nuts into the cake batter before baking. These additions can provide a contrasting crunch in every bite and enhance the flavor. Just be cautious with the amount; about half a cup should do well without overwhelming the cake structure.
Questions About Recipes
→ Can I use a different flavor of gelatin?
Absolutely! Feel free to experiment with different flavors like raspberry or orange to suit your taste.
→ How do I store leftovers?
Store leftover cake in an airtight container in the refrigerator for up to 3 days.
→ Can I make this cake in advance?
Yes, you can make the cake a day in advance; just add the topping on the day you're serving.
→ What can I substitute for whipped topping?
You can use freshly whipped cream or a yogurt spread if you prefer a lighter option.

St. Patrick’s Day Poke Cake
Created by: The Epicurelane Team
Recipe Type: Seasonal & Festive
Skill Level: Intermediate
Final Quantity: 12 servings
What You'll Need
For the Cake
- 1 box of vanilla cake mix
- 1 cup of water
- 1/3 cup of vegetable oil
- 3 large eggs
For the Filling
- 1 box of lime gelatin
- 1 cup of boiling water
- 1 cup of cold water
For the Topping
- 2 cups of whipped topping
- Green sprinkles for decoration
How-To Steps
Preheat your oven to 350°F (175°C). In a mixing bowl, combine the cake mix, water, oil, and eggs. Beat on medium speed for about 2 minutes until well combined. Pour the batter into a greased 9x13 inch baking dish and bake for 30 minutes or until a toothpick inserted in the center comes out clean. Let the cake cool for about 10 minutes.
In a small bowl, dissolve the lime gelatin in boiling water, then stir in cold water. Poke holes in the warm cake using the handle of a wooden spoon, making holes about 1 inch apart. Pour the prepared gelatin mixture over the cake, ensuring it seeps into the holes. Allow the cake to cool completely.
Once the cake has cooled, spread the whipped topping evenly over the surface. Garnish with green sprinkles for a festive touch. Refrigerate for at least 2 hours before serving to allow flavors to meld.
Extra Tips
- For an extra layer of flavor, consider adding crushed pineapple or chopped mint into the whipped topping.
Nutritional Breakdown (Per Serving)
- Calories: 350 kcal
- Total Fat: 12g
- Saturated Fat: 5g
- Cholesterol: 85mg
- Sodium: 200mg
- Total Carbohydrates: 55g
- Dietary Fiber: 1g
- Sugars: 30g
- Protein: 3g